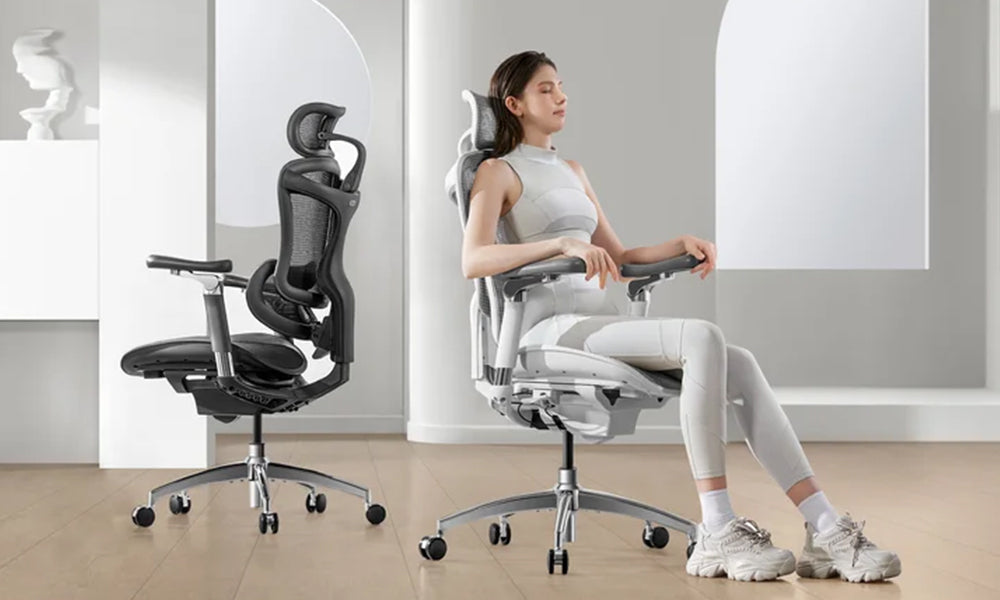
Office chairs play a crucial role in our daily work lives, offering comfort and support during long hours at the desk. However, over time, the need for maintenance or upgrades may arise. One common issue that office chair users encounter is a malfunctioning or worn-out gas cylinder. When this happens, knowing how to remove and replace the office chair cylinder can save you from investing in a new chair. In this comprehensive guide, we will walk you through the step-by-step process of safely and effectively removing an office chair cylinder.
Table of Contents:
- I. Why Remove an Office Chair Cylinder?
- II. Tools and Materials You'll Need
- III. Safety Precautions
- IV. Step-by-Step Guide: How to Remove an Office Chair Cylinder
A. Removing the Chair Seat
B. Disconnecting the Cylinder from the Chair Base
C. Detaching the Cylinder from the Chair Mechanism - V. Troubleshooting Common Issues
- VI. Installing a New Office Chair Cylinder
- VII. Maintenance Tips for Your Office Chair
- VIII. Conclusion
I. Why Remove an Office Chair Cylinder?
Before diving into the removal process, it's essential to understand why you might need to remove an office chair cylinder. Common reasons include:
Malfunctioning Cylinder: If your office chair sinks too low or fails to stay at the desired height, it's likely due to a faulty gas cylinder.
Upgrading or Replacement: You might want to replace your chair's cylinder with a different one, such as a pneumatic or heavy-duty cylinder, to better suit your needs.
Maintenance: Routine maintenance can extend the lifespan of your office chair, and that includes replacing worn-out components like the cylinder.
Understanding these reasons will help you decide whether it's time to remove and replace your office chair cylinder.
II. Tools and Materials You'll Need
To successfully remove your office chair cylinder, you'll need a set of tools and materials. Here's what you'll require:
Adjustable Wrench: This will help you loosen and remove bolts and nuts.
Phillips Screwdriver: You'll use this to remove screws and other fasteners.
Rubber Mallet: A rubber mallet can be handy for gentle tapping to dislodge stubborn parts.
Replacement Cylinder: If you plan to replace the cylinder, make sure you have the new one ready.
Gloves and Safety Glasses: These are crucial for safety. Gloves protect your hands, and safety glasses shield your eyes from any debris.
Workbench or Surface: Find a clean and sturdy surface to work on, which will make the process smoother.
Having these tools and materials ready before you start will ensure a seamless cylinder removal experience.
III. Safety Precautions
Before you begin the removal process, it's essential to prioritize safety. Follow these precautions to minimize the risk of accidents or injuries:
Clear Workspace: Ensure you have a clutter-free and well-lit workspace to work comfortably.
Wear Safety Gear: Put on gloves and safety glasses to protect your hands and eyes.
Unplug the Chair: If your office chair has electrical components like a heating or massaging function, unplug it before starting.
Use Proper Tools: Use the appropriate tools for each task, and ensure they are in good condition.
Secure the Chair: Make sure the chair is stable and won't tip over during the process.
By following these safety precautions, you'll create a safe environment for removing your office chair cylinder.
IV. Step-by-Step Guide: How to Remove an Office Chair Cylinder
Now, let's dive into the step-by-step process of removing an office chair cylinder:
A. Removing the Chair Seat
- Turn the Chair Upside Down: Begin by carefully turning your office chair upside down so you can access the underside.
- Inspect the Seat Attachment: Examine how the chair seat is attached to the cylinder and the chair mechanism. It may be secured with screws, bolts, or clips.
- Loosen Fasteners: Using the appropriate tools (a screwdriver or adjustable wrench), start loosening and removing any fasteners that connect the seat to the chair mechanism. Keep these fasteners in a safe place, as you'll need them later for reassembly.
- Detach the Seat: Once all fasteners are removed, carefully lift the chair seat off the cylinder and set it aside. Be cautious, as the seat can be heavy.
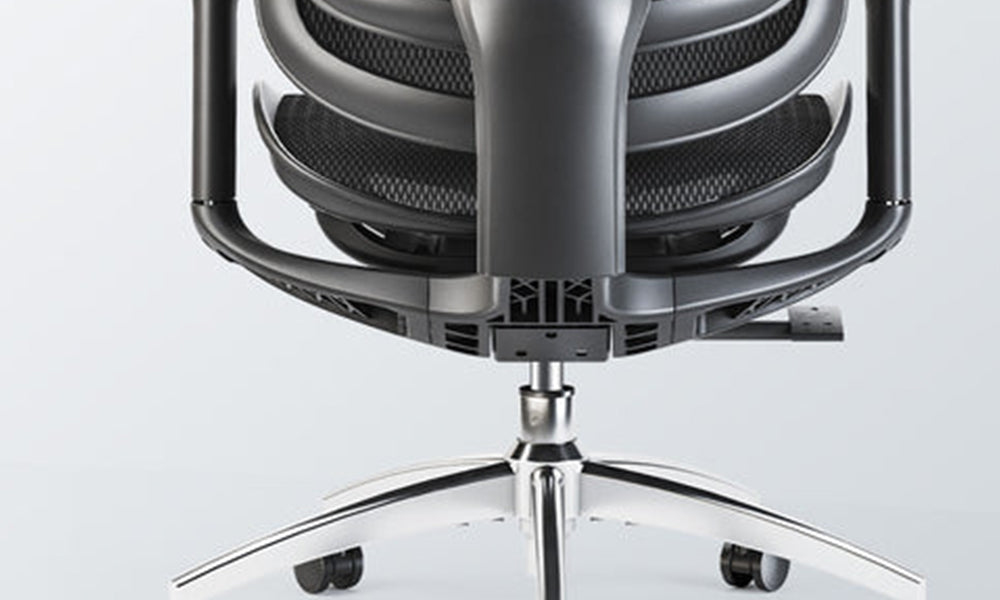
B. Disconnecting the Cylinder from the Chair Base
- Expose the Cylinder: With the seat removed, you'll now have clear access to the cylinder, which connects the chair base to the chair mechanism.
- Locate the Retaining Clip or Ring: Depending on your chair's design, there might be a retaining clip or ring securing the cylinder in place. Look for this component.
- Remove the Retaining Clip or Ring: Use your screwdriver or pliers to carefully remove the retaining clip or ring. Be cautious not to damage it, as you may need it for reassembly.
- Slide Out the Cylinder: With the retaining clip or ring removed, gently slide the cylinder out of the chair base. If it's stuck, you can use a rubber mallet to tap it lightly for assistance.
C. Detaching the Cylinder from the Chair Mechanism
- Examine the Chair Mechanism: Once the cylinder is removed from the chair base, inspect the chair mechanism. Look for any screws, bolts, or fasteners that connect the cylinder to the mechanism.
- Loosen and Remove Fasteners: Use your tools to carefully loosen and remove any fasteners securing the cylinder to the chair mechanism. Keep these fasteners in a safe place for later.
- Detach the Cylinder: Once all fasteners are removed, gently detach the cylinder from the chair mechanism. Be cautious and ensure that no wires or cables are connected to it.
Congratulations! You have successfully removed the office chair cylinder. Now, let's explore some common issues and troubleshooting tips.
V. Troubleshooting Common Issues
While removing the cylinder, you might encounter some common issues. Here's how to address them:
- Stubborn Fasteners: If screws or bolts are challenging to remove due to rust or corrosion, consider using penetrating oil to loosen them. Allow the oil to sit for a few hours before attempting removal again.
- Stuck Cylinder: If the cylinder is stuck in the chair base, tapping it gently with a rubber mallet should help. Avoid excessive force to prevent damage.
- Retaining Clip/Ring Difficulties: If you have trouble removing the retaining clip or ring, use pliers or a small pry bar carefully. Ensure you don't bend or break it in the process.
- Hidden Fasteners: Some chair designs may hide fasteners under plastic covers or decorative caps. Check for these and remove them to access the fasteners.
- Wires and Cables: Be cautious when detaching the cylinder from the chair mechanism. Check for any wires or cables that may be connected to the cylinder. If you find any, carefully disconnect them according to the manufacturer's instructions.
VI. Installing a New Office Chair Cylinder
Once you've successfully removed the old cylinder, you may want to replace it with a new one. Here's how to install a new office chair cylinder:
- Prepare the Replacement Cylinder: Ensure your new cylinder is compatible with your chair model and is in good condition.
- Attach the Cylinder to the Chair Mechanism: Carefully slide the new cylinder into the chair mechanism, aligning it with the screw holes. If necessary, use the fasteners you removed earlier to secure it in place.
- Connect the Cylinder to the Chair Base: Slide the cylinder into the chair base and reattach the retaining clip or ring you removed earlier. Ensure it's securely in place to prevent any wobbling or instability.
- Reattach the Seat: Carefully place the chair seat back onto the cylinder and the chair mechanism. Align it with the screw holes, and use the fasteners you removed to secure it. Make sure the seat is stable and properly attached.
- Test the Chair: Sit in the chair and test the height adjustment to ensure the new cylinder is functioning correctly. Adjust the chair to your desired height and confirm it remains stable.
VII. Maintenance Tips for Your Office Chair
To extend the lifespan of your office chair and minimize the need for cylinder replacements, consider these maintenance tips:
- Regular Cleaning: Clean your chair regularly to remove dust and debris that can cause premature wear.
- Lubrication: Apply a silicone-based lubricant to moving parts, such as the chair mechanism and casters, to reduce friction and improve functionality.
- Check for Loose Fasteners: Periodically inspect your chair for loose screws, bolts, or nuts, and tighten them as needed.
- Weight Limit: Be mindful of the chair's weight limit. Avoid overloading it, as excessive weight can lead to cylinder damage.
- Proper Sitting Posture: Maintain good posture while sitting to reduce stress on the chair components, including the cylinder.
- Avoid Sharp Objects: Avoid using your chair on abrasive surfaces or dragging it over sharp objects that can damage the cylinder or casters.
- Replace Casters: If your chair has caster wheels, consider replacing them if they become worn or damaged to prevent unnecessary strain on the cylinder.
By following these maintenance tips, you can keep your office chair in optimal condition and reduce the likelihood of future issues.
VIII. Conclusion
In conclusion, knowing how to remove and replace an office chair cylinder is a valuable skill that can prolong the life of your chair and save you from the expense of purchasing a new one. By following the step-by-step guide outlined in this article and taking safety precautions, you can successfully remove and replace a faulty cylinder or upgrade it to better suit your needs.
Remember that regular maintenance is key to preventing future problems with your office chair. By cleaning, lubricating, and inspecting your chair regularly, you can enjoy years of comfortable and ergonomic seating in your workspace. With this knowledge, you're well-equipped to tackle the task of office chair cylinder removal and replacement with confidence.