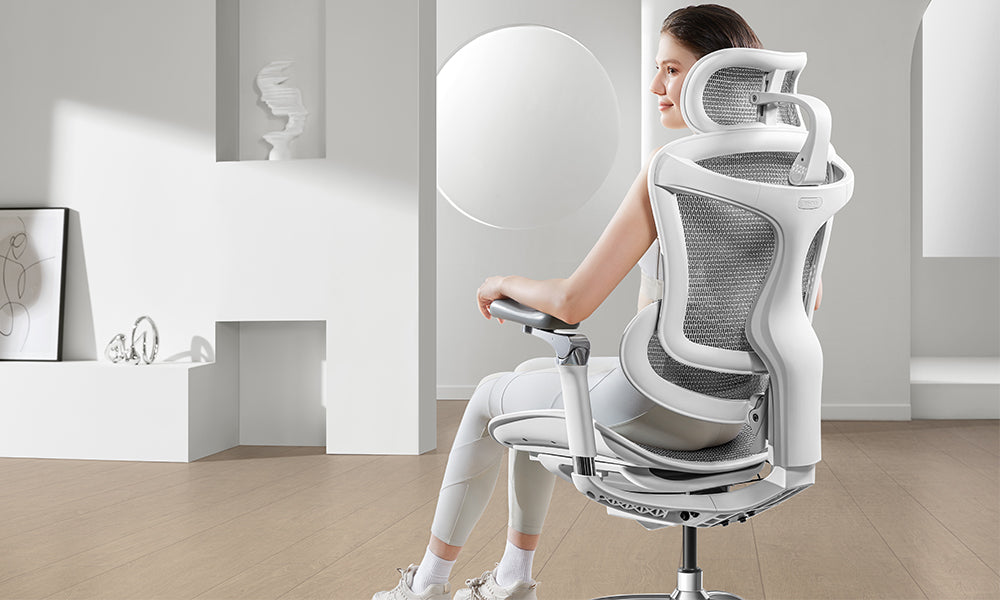
Office chairs are essential in many workplaces and home offices, providing comfort and support during long hours of sitting. However, like any piece of furniture, office chairs can experience wear and tear, and one common issue is the need to replace or remove the gas cylinder. The gas cylinder, which allows for height adjustment, can sometimes become faulty or simply need replacing. If you're facing this issue and don't have a pipe wrench, don't worry—there are alternative methods to get the job done. In this blog post, we'll guide you through the process of removing the cylinder from an office chair without using a pipe wrench.
Tools and Materials You Will Need
Before you begin, gather the following tools and materials:
- Screwdriver (Phillips or flathead, depending on your chair)
- Hammer
- Lubricant (such as WD-40 or penetrating oil)
- A large cloth or towel
- Safety goggles and gloves (for protection)
Step 1: Prepare Your Workspace
Choose a clean, well-lit area to work on your office chair. Place a cloth or towel on the floor to protect the chair and catch any small parts that might fall during the process. Wear safety goggles and gloves to protect yourself from any debris or sharp edges.
Step 2: Remove the Base of the Chair
The gas cylinder is typically connected to the chair base. To access it, you'll need to remove the base.
- Turn the Chair Over: Carefully flip the chair so that the base is facing up. This will make it easier to access the screws that secure the base to the cylinder.
- Remove Screws: Locate and remove the screws that attach the base to the gas cylinder. These screws are usually located at the center of the base. Use a screwdriver to loosen and remove them. Keep these screws in a safe place as you will need them if you are reassembling the chair.
Step 3: Detach the Gas Cylinder
Once the base is removed, you'll need to detach the gas cylinder from the chair.
- Examine the Cylinder Connection: The gas cylinder is usually connected to the chair’s seat mechanism. Look for any clips, covers, or screws that may be securing it in place.
- Remove Any Cover or Clip: If there is a cover or clip securing the gas cylinder, gently pry it off using a flathead screwdriver. Be cautious not to damage the cover or clip, as you may need to reuse it.
- Apply Lubricant: Spray some lubricant around the base of the gas cylinder where it meets the chair’s seat mechanism. Allow the lubricant to penetrate for a few minutes. This will help loosen any rust or corrosion that might be making it difficult to remove the cylinder.
- Gently Tap the Cylinder: Using a hammer, gently tap around the base of the gas cylinder to loosen it. Be careful not to hit too hard, as this might damage the cylinder or other parts of the chair.
- Remove the Cylinder: Once the cylinder is loosened, grasp it firmly and pull it out of the seat mechanism. If it’s still stuck, apply more lubricant and tap gently until it comes free.
Step 4: Clean and Inspect
With the gas cylinder removed, take the opportunity to clean the area where the cylinder was attached. Remove any debris or old lubricant. Inspect the gas cylinder for any signs of damage or wear, and compare it with a new one to ensure it is indeed the correct replacement part if you’re planning to install a new one.
Step 5: Reassemble or Replace
If you are replacing the gas cylinder, follow these steps in reverse to install the new one. Insert the new gas cylinder into the seat mechanism, reattach the base, and secure it with the screws you previously removed. Ensure everything is tightly fastened and properly aligned.
If you are not replacing the cylinder and are simply removing it for maintenance, reassemble the chair by following the steps you used to remove it but in reverse order.
Tips for Success
- Be Patient: Removing a gas cylinder can sometimes take a bit of time, especially if it’s rusted or stuck. Don’t rush the process—take your time to avoid damaging the chair.
- Use the Right Tools: Ensure you use the appropriate size screwdriver and avoid using excessive force to prevent breaking any parts.
- Seek Professional Help if Needed: If you encounter significant resistance or difficulty, consider seeking help from a professional or a furniture repair expert.
Conclusion
Removing the gas cylinder from an office chairs without a pipe wrench is entirely feasible with the right approach and tools. By following the steps outlined in this blog post, you can effectively detach the cylinder and either replace it or perform necessary maintenance. Remember to work carefully and patiently to avoid damaging your chair. Whether you’re looking to upgrade your office chair or simply performing routine maintenance, these techniques will help you get the job done efficiently.