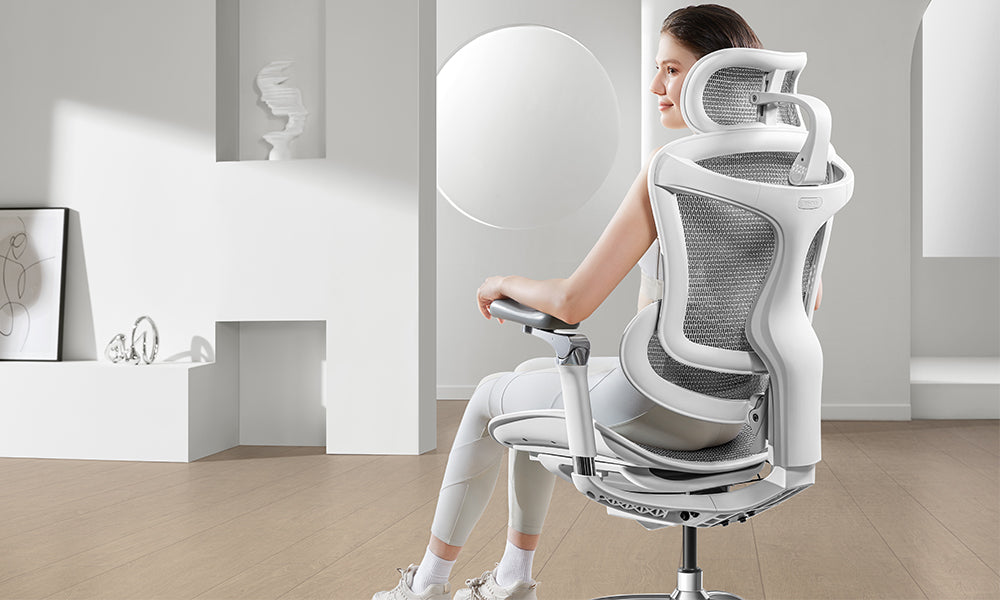
Your trusty office chair has served you well over the years, but now it's time for an upgrade or some maintenance. One common task you might encounter is removing the office chair base. Whether you're looking to replace a damaged base, clean hard-to-reach areas, or simply disassemble the chair for moving purposes, this step-by-step guide will walk you through the process.
In this comprehensive guide, we'll provide you with clear instructions and tips on how to remove an office chair base safely and efficiently. Before you begin, make sure you have the necessary tools and a clean workspace. Let's dive in!
Tools and Materials Needed
Before you start disassembling your office chair, gather the essential tools and materials to ensure a smooth process. Here's what you'll need:
- Adjustable wrench
- Screwdriver (Phillips and flathead)
- Rubber mallet
- Allen wrench or hex key
- Plastic bag or container (for small parts)
- Towel or blanket (to protect the floor)
- Having these tools on hand will make the removal process much easier.
Safety Precautions
Safety should always be a top priority when working with any type of furniture or machinery. Before you begin, take the following precautions:
- Ensure the chair is on a stable surface.
- Clear the workspace of any obstacles.
- Wear safety goggles to protect your eyes.
- Keep your hands and fingers away from moving parts.
- If you're unsure about any step, consult the chair's user manual or manufacturer's instructions.
- Identifying Your Chair Type (300 words)
Not all office chairs are built the same way, and the method for removing the chair base can vary depending on the model. To avoid any confusion, identify your chair type before proceeding. Common office chair types include:
- Swivel chairs with a single central column.
- Chairs with four legs and a base plate.
- Executive chairs with a tilt mechanism.
- Once you've determined your chair type, you can move on to the specific removal process for that design.
Removing the Gas Lift Cylinder
The gas lift cylinder is a crucial component that connects the seat to the chair base. To remove it, follow these steps:
a. Raise the chair to its highest position.
b. Tilt the chair backward to expose the underside.
c. Locate the circular plastic shroud covering the cylinder's base.
d. Using a flathead screwdriver, carefully pry off the shroud.
e. Expose the retaining clip that holds the cylinder in place.
f. Use pliers to remove the retaining clip.
g. With the clip removed, firmly grip the gas lift cylinder and twist it counterclockwise to release it from the base.
h. Lower the chair slowly to avoid any damage.
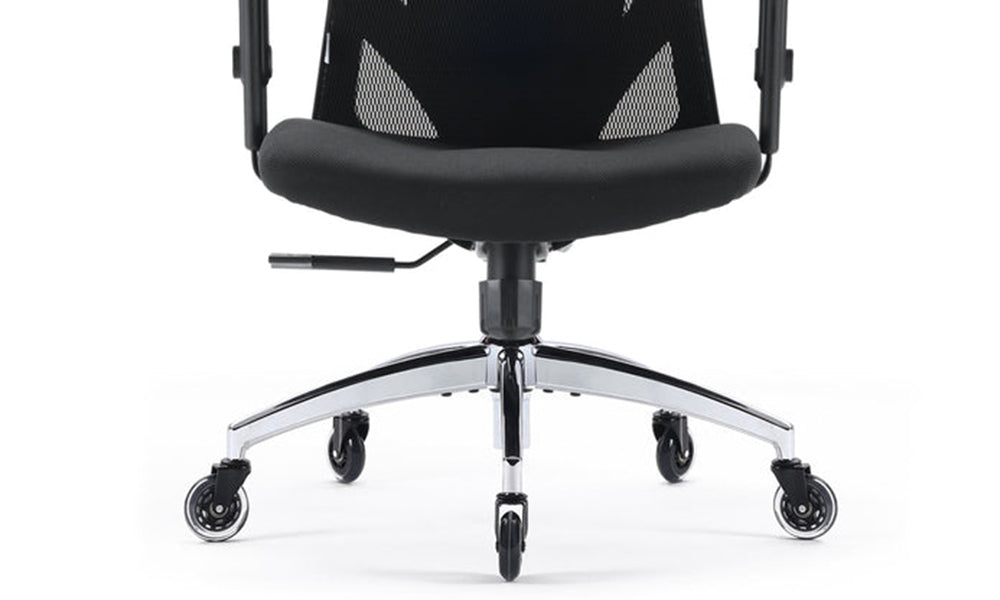
Removing the Chair Base
With the gas lift cylinder out of the way, it's time to remove the chair base. The process varies depending on your chair type:
For swivel chairs with a single central column:
a. Locate the large nut or bolt securing the base to the column.
b. Use an adjustable wrench or pliers to loosen and remove the nut or bolt.
c. Carefully lift the chair base off the column.
For chairs with four legs and a base plate:
a. Turn the chair upside down.
b. Locate the screws or bolts attaching the base plate to the chair's seat.
c. Use the appropriate screwdriver to remove these screws.
d. Carefully lift the base plate and set it aside.
For executive chairs with a tilt mechanism:
a. Locate the screws or bolts connecting the tilt mechanism to the chair seat.
b. Use the appropriate screwdriver to remove these screws.
c. Carefully lift the tilt mechanism and set it aside.
Inspecting and Cleaning
Once you have successfully removed the chair base, take the opportunity to inspect and clean the chair components:
- Check the condition of the chair's casters (wheels) and replace any damaged ones.
- Examine the gas lift cylinder for signs of wear or leaks and replace if necessary.
- Wipe down all components with a damp cloth to remove dirt and dust.
- Lubricate any moving parts, such as the tilt mechanism, with a suitable lubricant.
Reassembling Your Office Chair
Now that you've completed the necessary maintenance or replacement, it's time to reassemble your office chair. Follow these steps in reverse order:
a. Attach the chair base to the seat using the appropriate screws or bolts.
b. Reattach the gas lift cylinder by twisting it clockwise into the base.
c. Secure the retaining clip to keep the cylinder in place.
d. Snap the plastic shroud back over the cylinder's base.
e. Adjust the chair to your preferred height.
Tips for Reassembly
As you reassemble your office chair, keep these tips in mind:
- Tighten all screws and bolts securely to ensure stability.
- Double-check that the gas lift cylinder is firmly attached.
- Test the chair's swivel and tilt mechanisms for smooth operation.
If you encounter any difficulties, consult your chair's user manual or manufacturer's instructions.
Conclusion
Removing an office chair base may seem like a daunting task, but with the right tools and guidance, it can be a straightforward process. Regular maintenance and occasional base replacement can prolong the life of your chair and ensure a comfortable and ergonomic workspace.
Remember to prioritize safety throughout the process, and always consult your chair's user manual or manufacturer's instructions for specific guidance. By following the steps outlined in this guide, you'll be well-equipped to tackle the task of removing your office chair base like a pro. Enjoy your newly refreshed or repaired office chair and the enhanced comfort it provides!